Installing an Outdoor Furnace to Your Forced Air System
Before we get started with this guide we want to remind you to check your local codes and regulations before you get started. This is also just a guide – there are going to be things we don’t cover. If you are unsure of anything you can contact a local HeatMasterss dealer who can help.
Let’s dive in and walk through the process of connecting your outdoor furnace to your indoor forced air system.
What is a Forced Air System?
Forced air furnaces are considered the “go-to” method of heating homes and shops. A general definition of a forced air system is a heating system with a fan – that’s it. The most recognizable system that distributes heated air throughout your home or space is one that uses duct work.
Forced air systems are practical and functional. Typically controlled by a thermostat, your house or space is safely kept at an even temperature. When the thermostat calls for heat the system answers by pulling in cooled air from the home and sending it over the heating coils of the furnace. The heated air is then blown through the home via ducts.
The Basics
Transferring the heat from your outdoor wood boiler to your home or outbuilding is simple. Once underground insulated pipes are installed from your outdoor boiler to your home you are ready to start taking advantage of the savings and freedom an outdoor furnace offers. These pipes allow the heated and cooled water to move back and forth between the boiler and your home or shop systems where a water-to-air heat exchanger is ready for its job.
Water-to-Air Heat Exchanger
The trick of getting the heat from the water in your boiler into the air of your home is a water-to-air heat exchanger. While this may seem magical it is, in reality, an effective system that allows the heat from the boiler to be used with a forced air delivery system. Heat exchangers allow the transfer heat between various liquids and gases – in this case hot water and air – without mixing.
The most efficient water-to-air heat exchangers use seamless coiled copper tubes that are surrounded by high-density aluminum fins to reduce flow resistance. Water in the boiler is heated and sent to the water-to-air heat exchanger where air is forced over the heated copper coils which warms the air that is returning to the home.
Where to Install the Water-to-Air Exchanger
In your forced air heating system you have a box called a plenum. All forced air furnaces have a return and a supply which comes out the plenum. As mentioned above, the cool air gets returned from the house and is sent through the furnace to be reheated and sent back through the house. The plenum is what we want to focus on.
If you have an A-coil air conditioning system inside your plenum then you need to mount your water-to-air heat exchanger as far away as possible. Also keep it away from any sensors that could cause the system to misread temperatures and potentially overheat. When looking for a water-to-air exchanger you want one that closely matches the dimensions inside your plenum to avoid air leaks around the edges.
Installing Your Water-to-Air Exchanger
There are a few ways you can install your heat exchanger inside your plenum. One way is to use angle iron from the hardware store to build a shelf for the exchanger to sit on. Measure the water-to-air heat exchanger and cut a hole in the side of your plenum that matches the dimensions of your exchanger. Then measure for where the brackets should be mounted inside the plenum giving space for the exchanger to slide in. Mount the angle iron brackets and cover any holes with foil tape. Slide the heat exchanger into the space and use foil tape to seal any gaps.
An alternative way for those with larger arms (who can’t fit into the slot to install the brackets) is to make two H-cuts – one on the front and one on the back of the plenum. Make sure that the cut is deep enough for the depth of the exchanger. Bending the tin outward gives the heat exchanger a shelf to sit on. Use tin snips to cut about an inch or so of excess off, leaving enough tin to bend around the exchanger with a channel lock plier and then seal the edges with foil tape.
Tools You Will Need
- Tape Measure
- Angle Iron
- Tin snips
- Jig saw
- Channel lock plier
- Foil Tape
- Gloves
- Safety glasses
Controlling Temperature from an Outdoor Boiler
The order of operations determines how your outdoor boiler and indoor forced air system communicate.
- Indoor thermostat registers a need for heat
- Boiler responds with heat
- Water is circulated into the heat exchangers
- The cooled water is circulated back to the boiler to be reheated.
- Once at proper temp the main blower is turned on
- When the need for heat stops, the boiler and the circulator turn off
- Blower shuts off
One of the easiest ways to monitor the heat of the water in the pipe is using an aqua hydro coil kit mounted on the supply side of the pipe. This monitors the temperature of the water in the pipe coming into the system. When the existing inside thermostat asks for heat it checks the pipe to see if the water is hot or not. If it is then it asks the fan to come on which blows across the hot water-to-air heat exchanger and warms the air in your home. If the pipe is not hot then it asks the furnace to come on, keeping you and your family warm until you can add fuel to your boiler.
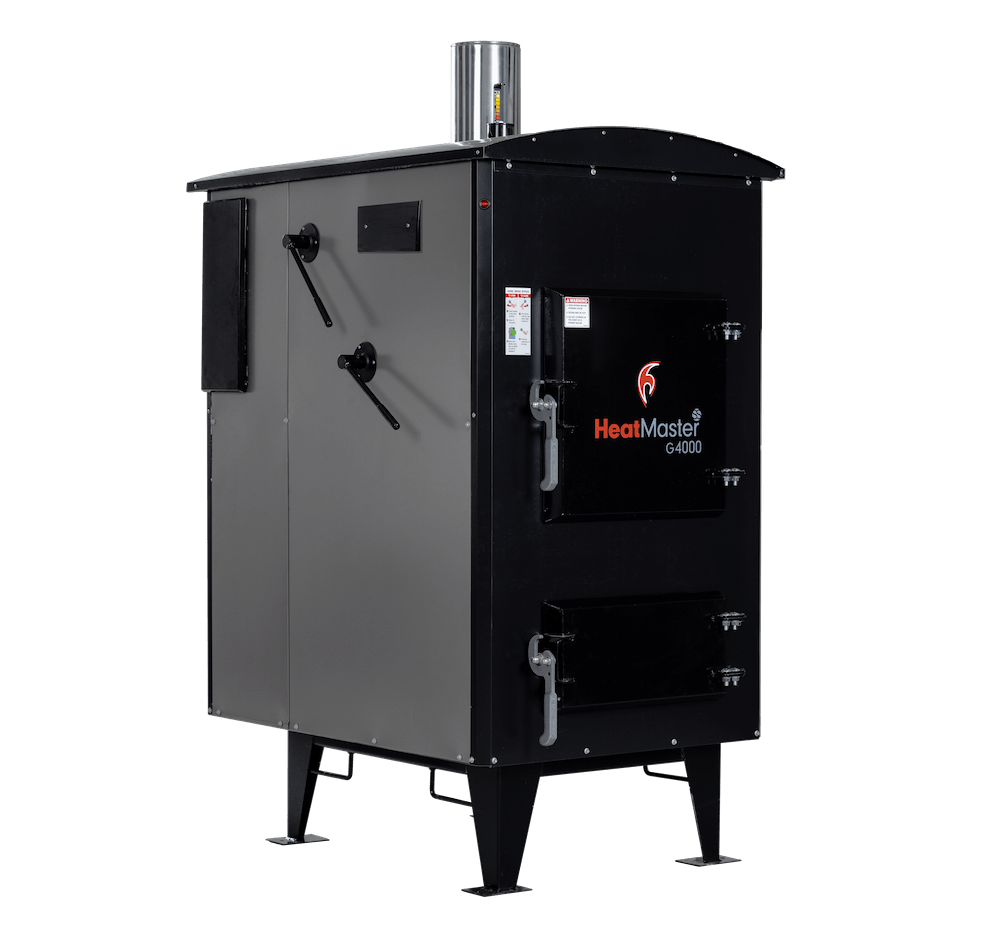
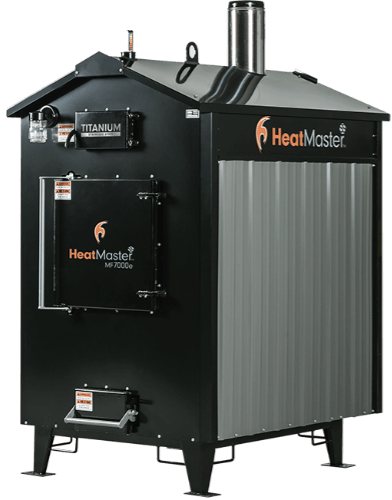
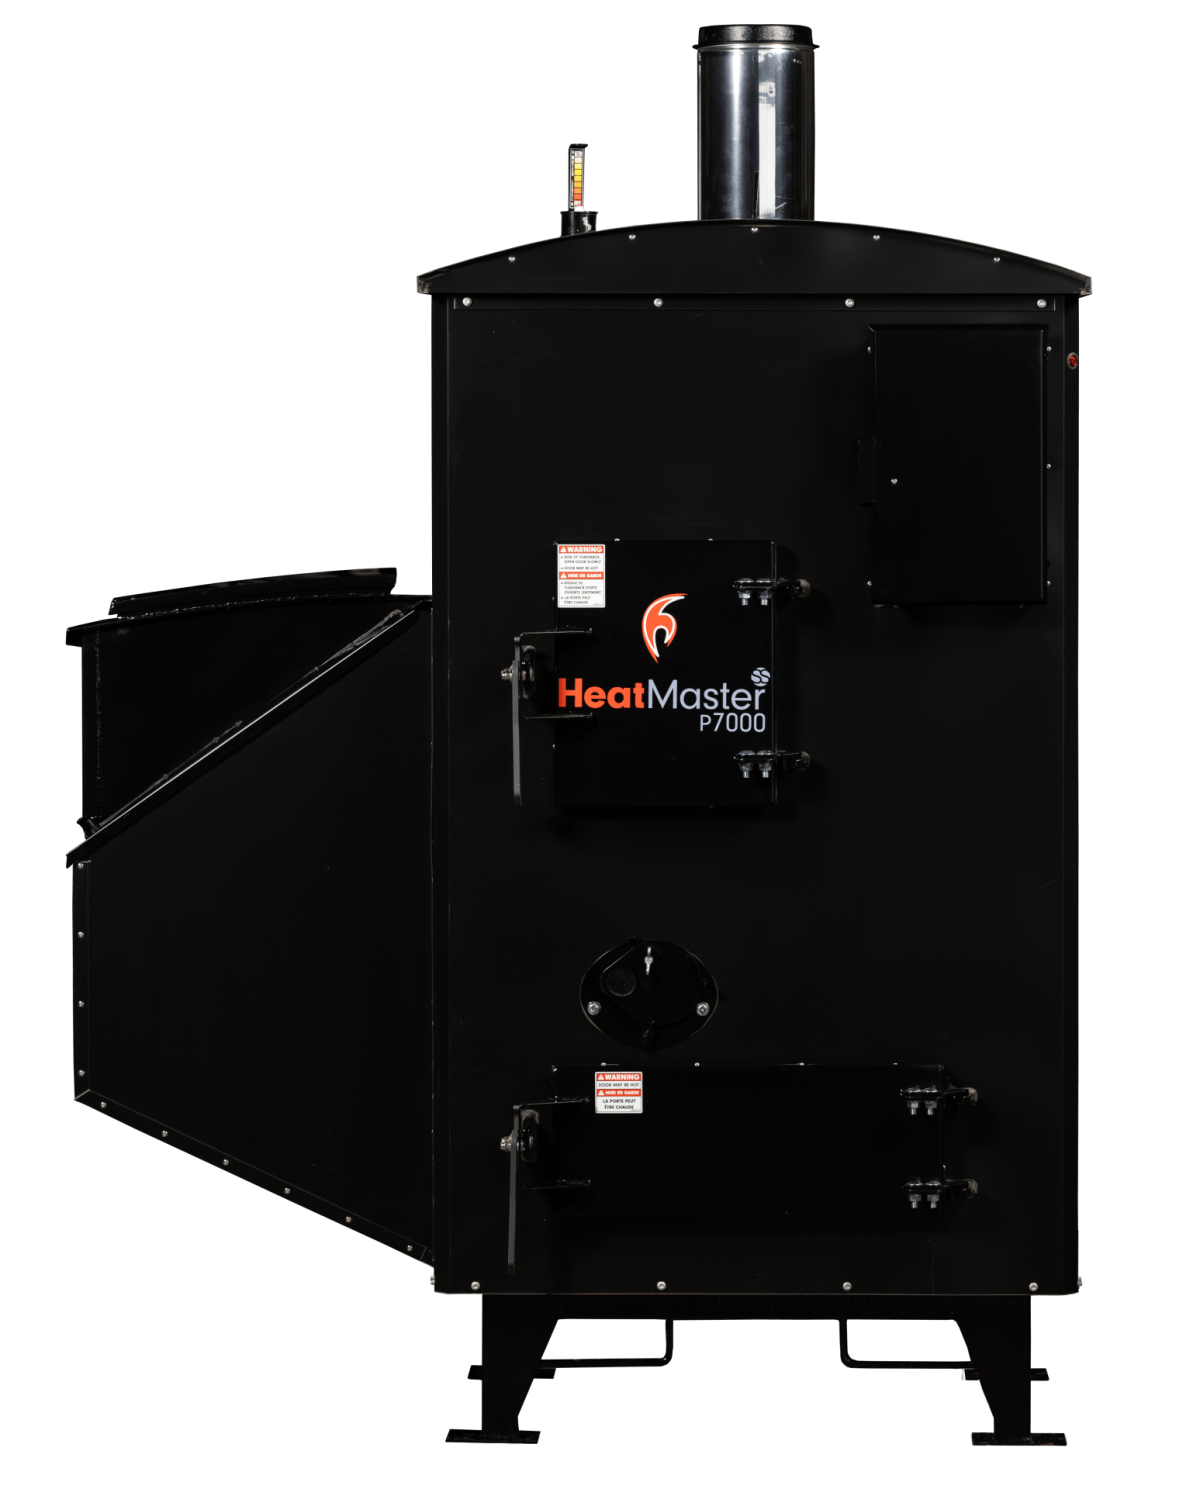
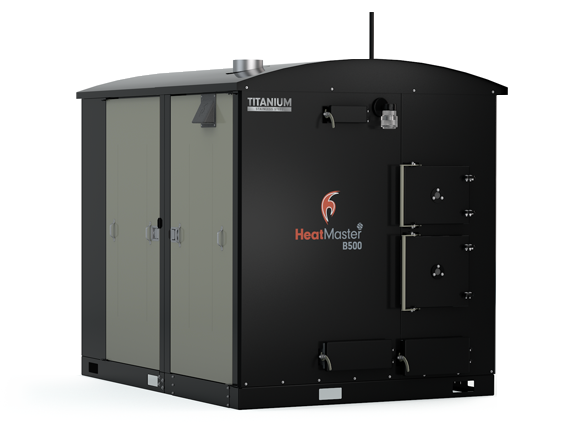
The HeatMasterss Advantage
An outdoor furnace offers you and your family a way to safely and easily take control of your heating bills. HeatMasterss outdoor furnaces are designed with the features and benefits that give you quality, efficiency, and performance for a variety of applications.
The HeatMasterss team is always improving our outdoor furnaces so you can live in comfort and freedom. Our outdoor furnaces come with automated “cruise control” options that help achieve longer burn times, reduce creosote, and give optimal performance in all conditions. We designed our outdoor furnaces with simple cleaning and maintenance options that keeps everything running smoothly. And unlike most outdoor furnaces, our HeatMasterss G Series is approved for installation in a garage or outbuilding so you don’t have to brave the weather.
Talk with our team about the advantages of an outdoor wood furnace to see if it’s right for you and your family— find a local HeatMasterss dealer near you.